Quick Start
In this example we will build, archive and release a sample project.
Create a GitHub repository, clone and cd into it, and let's get started!
Initialize your module with:
go mod init github.com/you/your-repo
Then create a main.go file:
package main

func main() {
  println("Ba dum, tss!")
}
Initialize your project with:
cargo init --bin
Initialize your project with:
zig init
Initialize your project with:
bun init
Initialize your project with:
deno init
Run the init command to create an example .goreleaser.yaml file:
goreleaser init
Now, lets run a "local-only" release to see if it works using the release command:
goreleaser release --snapshot --clean
At this point, you can customize the generated .goreleaser.yaml or leave it as-is, it's up to you. It is best practice to check .goreleaser.yaml into the source control.
You can verify your .goreleaser.yaml is valid by running the check command:
goreleaser check
You can also use GoReleaser to build the binary only for a given target, which is useful for local development:
GOOS="linux" \
GOARCH="arm64" \
  goreleaser build --single-target
It will default to your current GOOS/GOARCH.
TARGET="aarch64-unknown-linux-gnu" \
  goreleaser build --single-target
TARGET="aarch64-linux" \
  goreleaser build --single-target
TARGET="bun-linux-arm64" \
  goreleaser build --single-target
TARGET="aarch64-unknown-linux-gnu" \
  goreleaser build --single-target
To release to GitHub, you'll need to export a GITHUB_TOKEN environment variable, which should contain a valid GitHub token with the repo scope. It will be used to deploy releases to your GitHub repository. You can create a new GitHub token here.
Info
The minimum permissions the GITHUB_TOKEN should have to run this are write:packages
export GITHUB_TOKEN="YOUR_GH_TOKEN"
GoReleaser will use the latest Git tag of your repository.
Now, create a tag and push it to GitHub:
git tag -a v0.1.0 -m "First release"
git push origin v0.1.0
Info
Check if your tag adheres to semantic versioning.
Info
If you don't want to create a tag yet, you can also run GoReleaser without publishing based on the latest commit by using the --snapshot flag:
goreleaser release --snapshot
Now you can run GoReleaser at the root of your repository:
goreleaser release
That's all it takes!
GoReleaser will build the binaries for your app for the default targets for the build mechanism being used. You can customize that by changing the builds section. Check the documentation for more information.
After building the binaries, GoReleaser will create an archive for each target into a separate file. You can customize several things by changing the archives section, including releasing only the binaries and not creating archives at all. Check the documentation for more information.
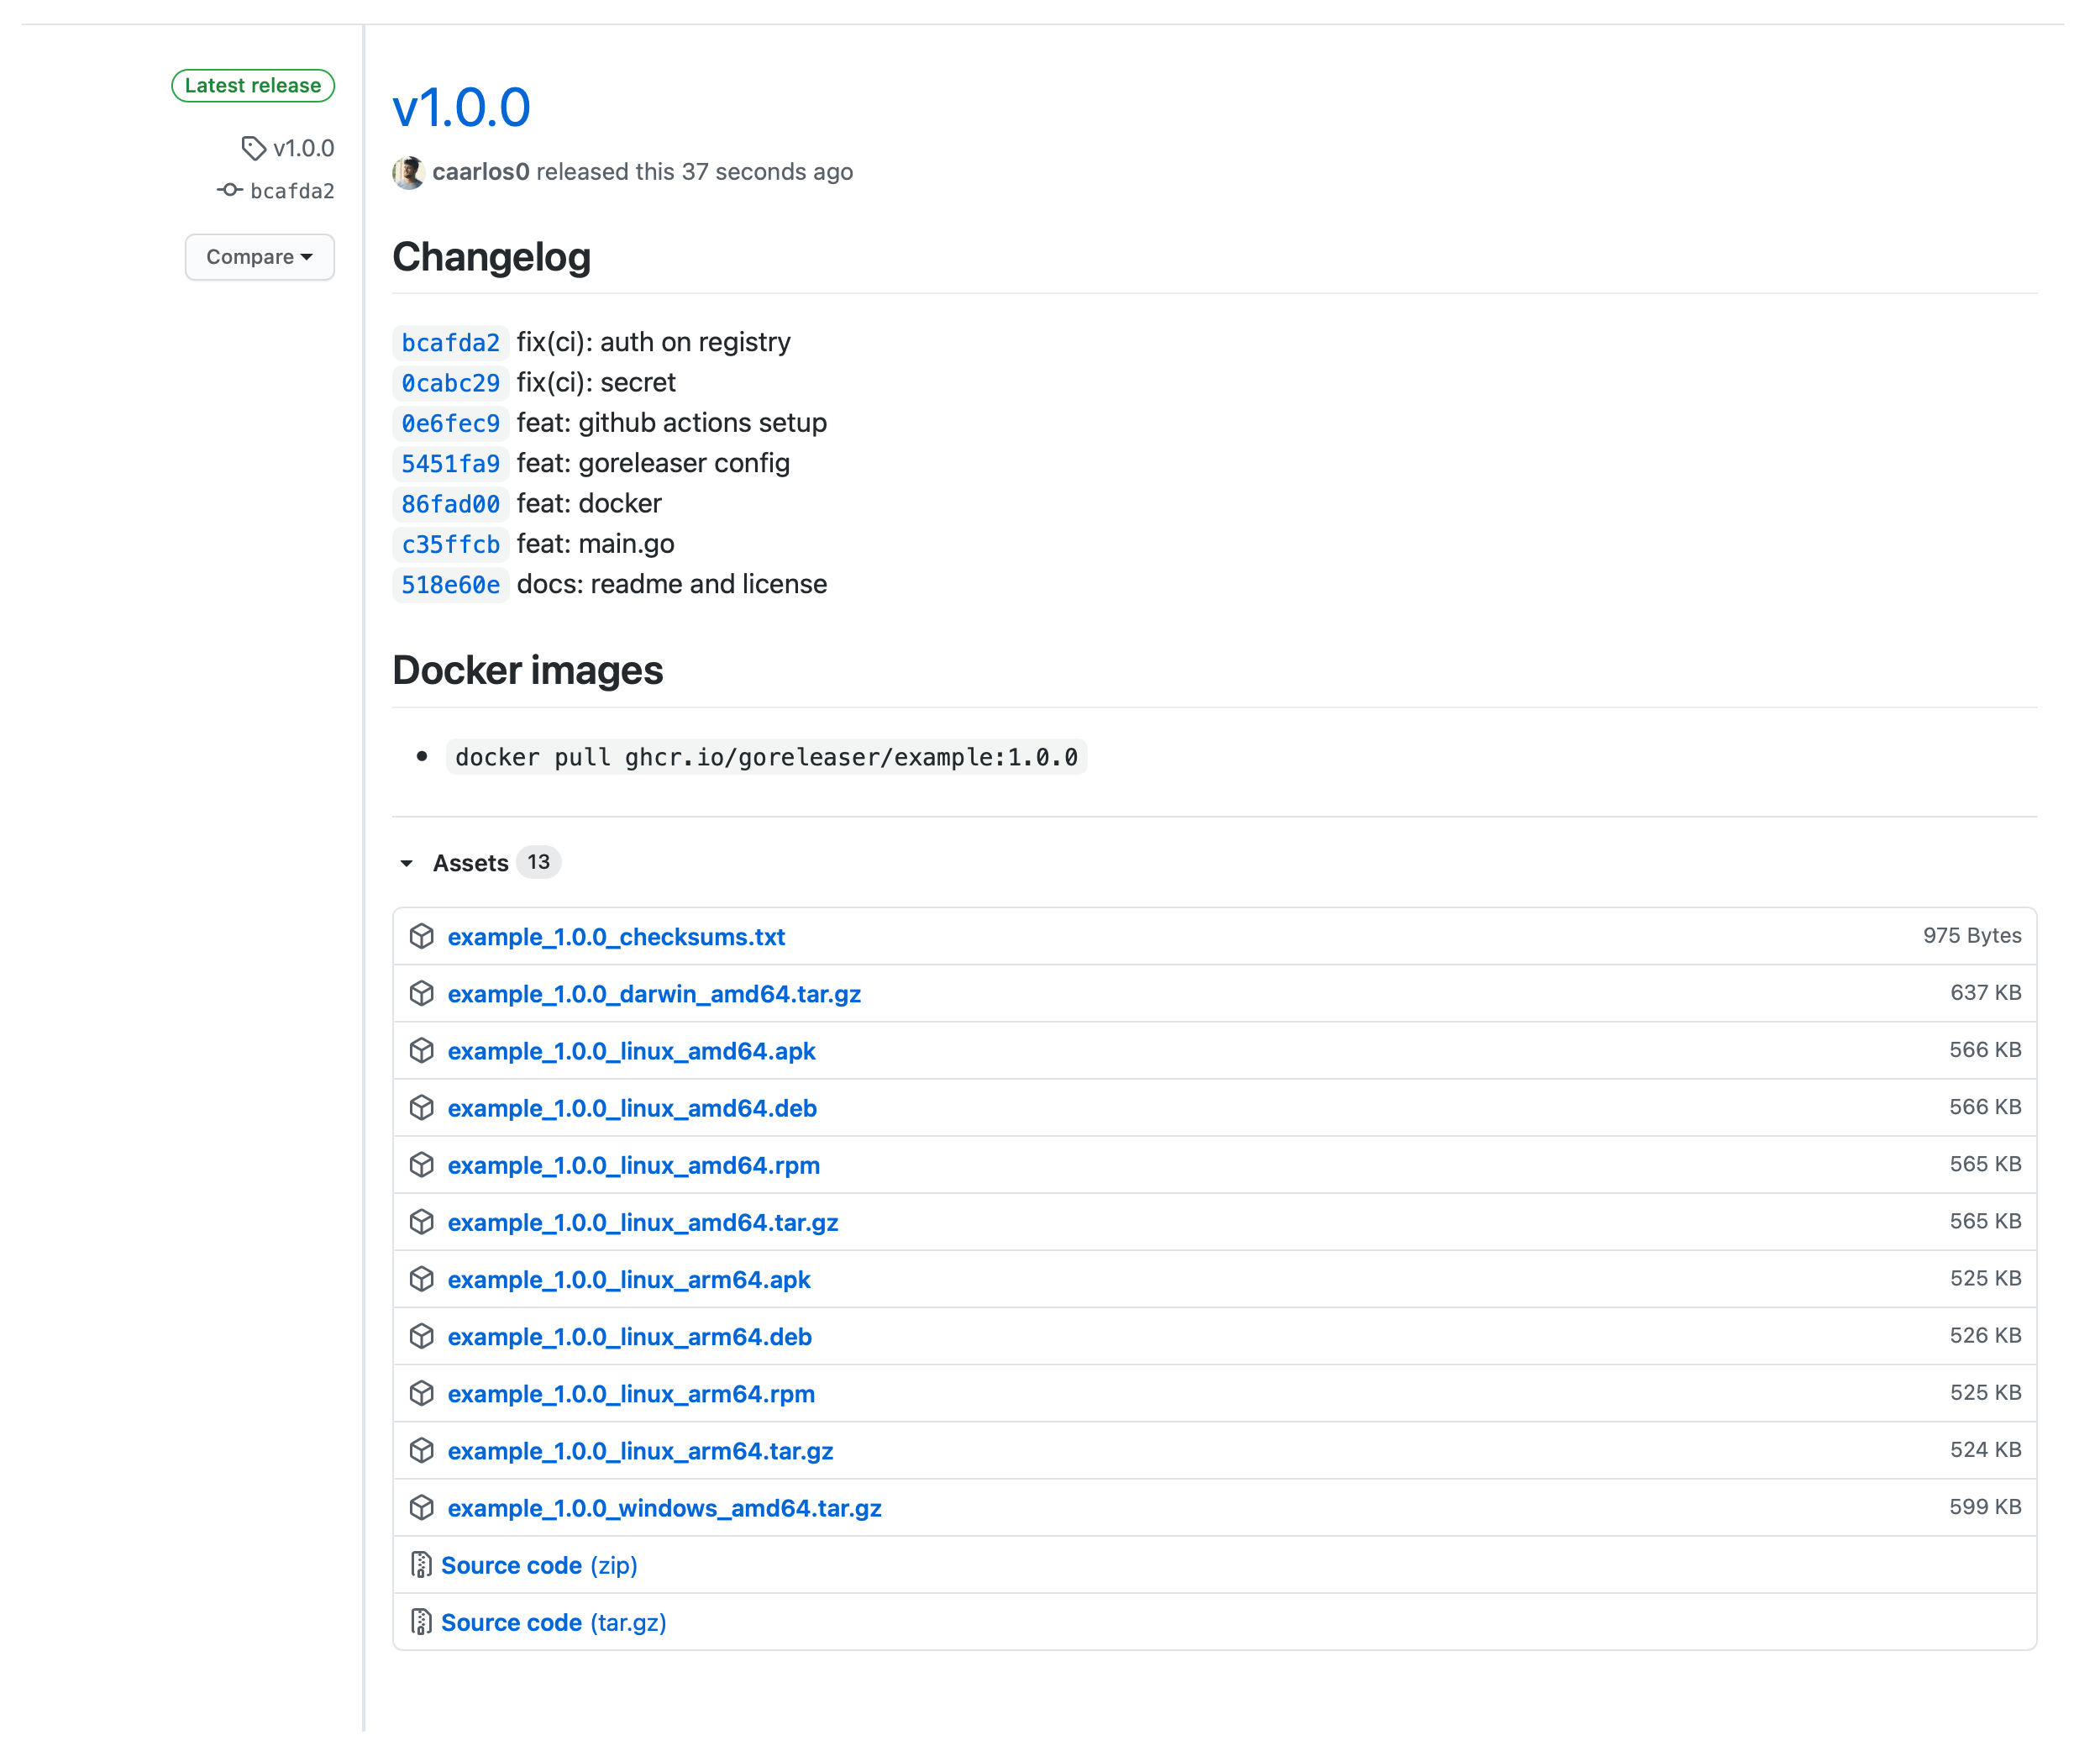
Finally, it will create a release on GitHub with all the artifacts.
Check your GitHub project's releases page!
Live examples
We have a ton of example repositories! You can use them to learn more and see how GoReleaser works.
Dry run
If you want to test everything before doing a release "for real", you can use the following techniques.
Verify dependencies
You can check if you have every tool needed for the current configuration:
goreleaser healthcheck
Build-only Mode
Build command will build the project:
goreleaser build
This can be useful as part of CI pipelines to verify the project builds without errors for all build targets.
Release Flags
Use the --skip=publish flag to skip publishing:
goreleaser release --skip=publish
More options
You can check the command line usage help here or with:
goreleaser --help
